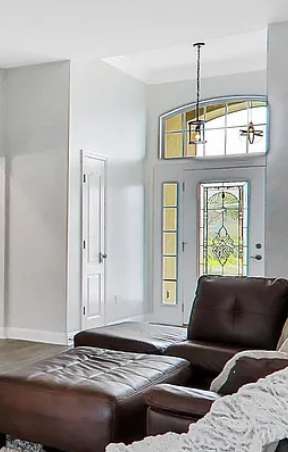
You know how they say first impressions matter? Well, our entryway was kind of… letting us down. The moment you walked in, instead of getting that “wow, come on in” vibe, your eyes would dart straight past everything to the back wall.
Sure, the fireplace and shiplap back there are lovely, but they had this funny way of making the space feel smaller and, honestly, a bit meh. It was time to give our foyer the glow-up it deserved to make it a moment!
Table of Contents
Don’t have time to read it now? Pin it for later!
The Vision
When I started this renovation, I had a few big goals in mind:
- Give the entrance some serious wow-factor (because first impressions matter, right?).
- Add smart storage without making it look... well, boring.
- Upgrade the lighting to something chic and grown-up (goodbye, basic fixtures!).
- Keep everything in sync with the rest of the house's vibe—nobody likes a design identity crisis!
Making Bold Choices
One of the biggest changes I made? Hiding the closet door. Yep, it’s still there, but I covered it with a shiplap wall that blends perfectly with the nickel gap shiplap walls – the fireplace wall and a wall in the dining room. Honestly, it was a no-brainer—I don’t need to access this closet all the time since it’s mostly for winter stuff, so why not make it disappear? It’s practical and pretty and creates a welcoming moment. Win-win!
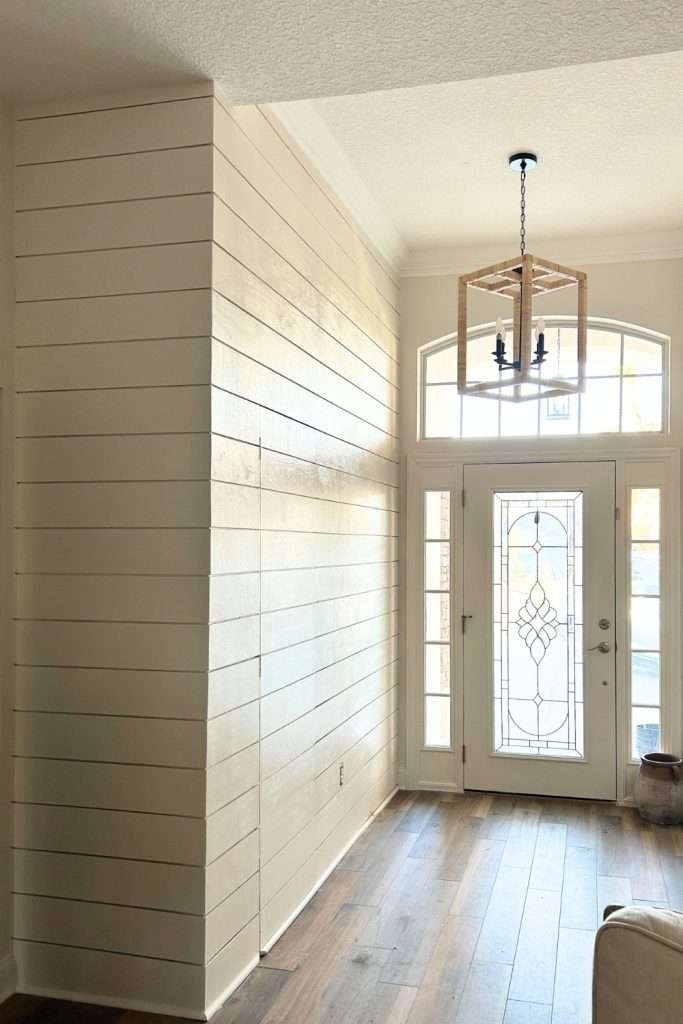
Now, let me rant about that old farmhouse light fixture for a second. You know the one—it’s everywhere at home improvement stores, super budget-friendly, but let’s be real… it’s not precisely oozing charm. Every time I looked at it, I cringed. Even Joanna Gaines herself would probably give it a hard pass! So, out it went, and I couldn’t be happier.
The Transformation Process
Phase 1: The Foundation
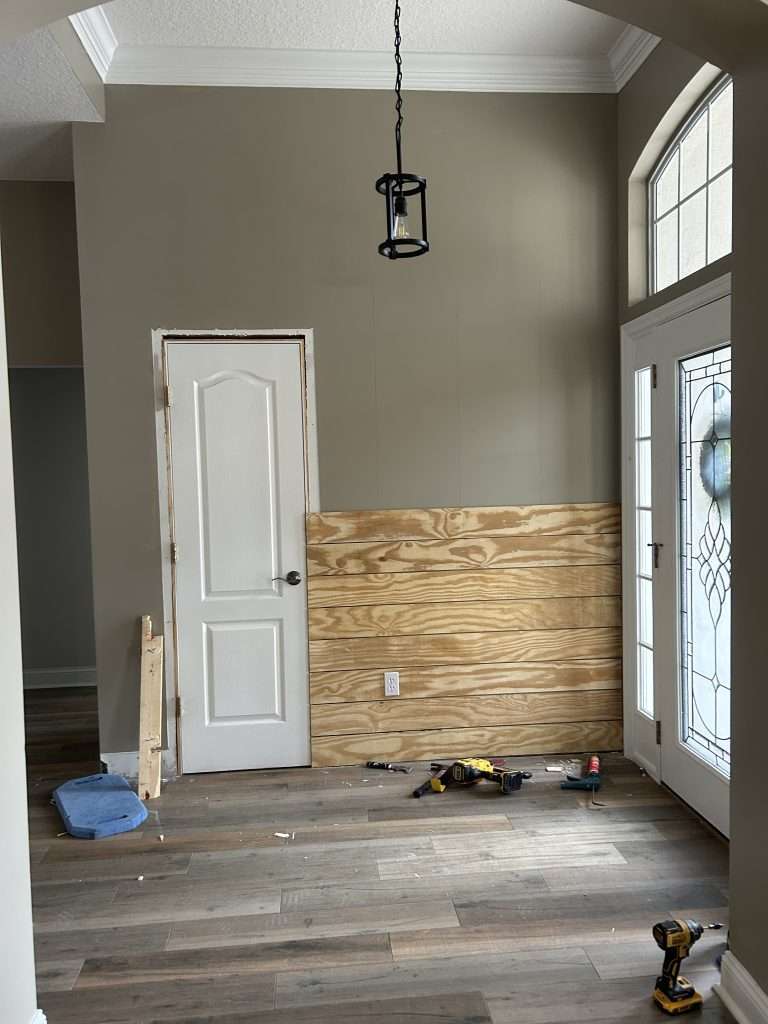
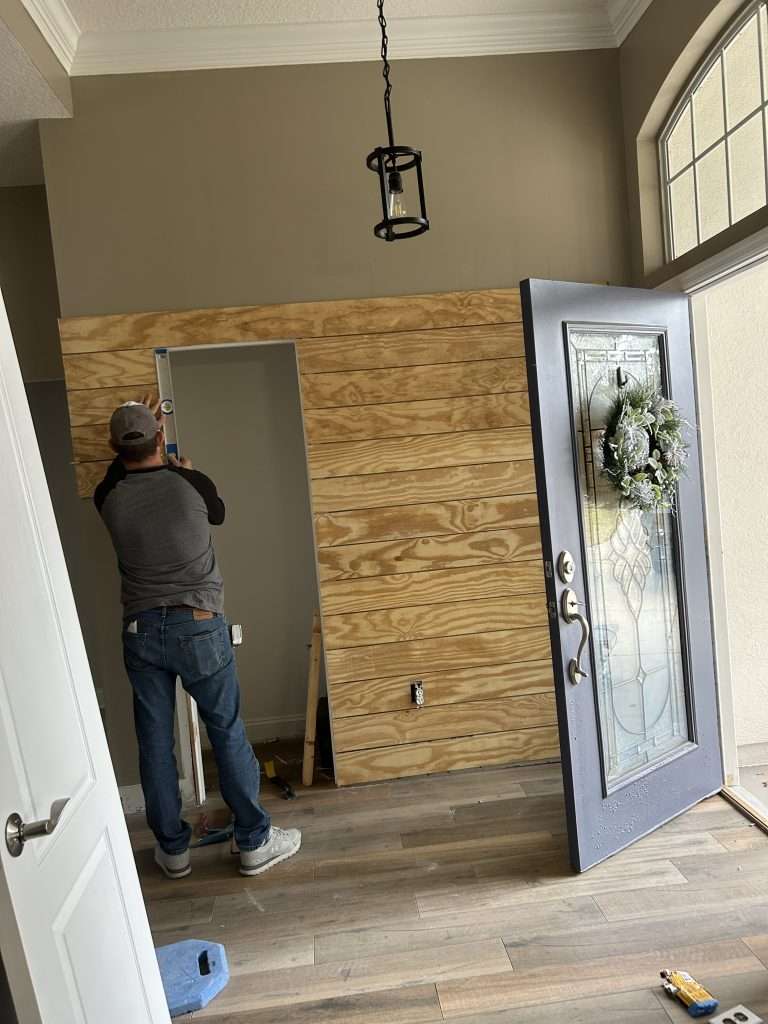
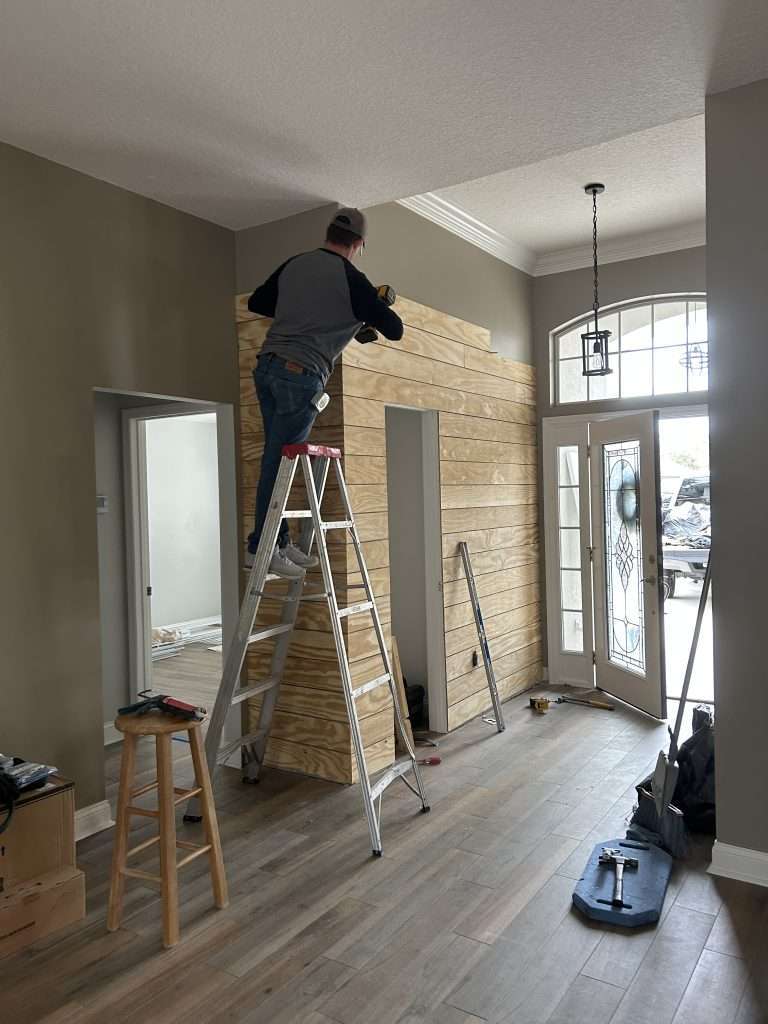
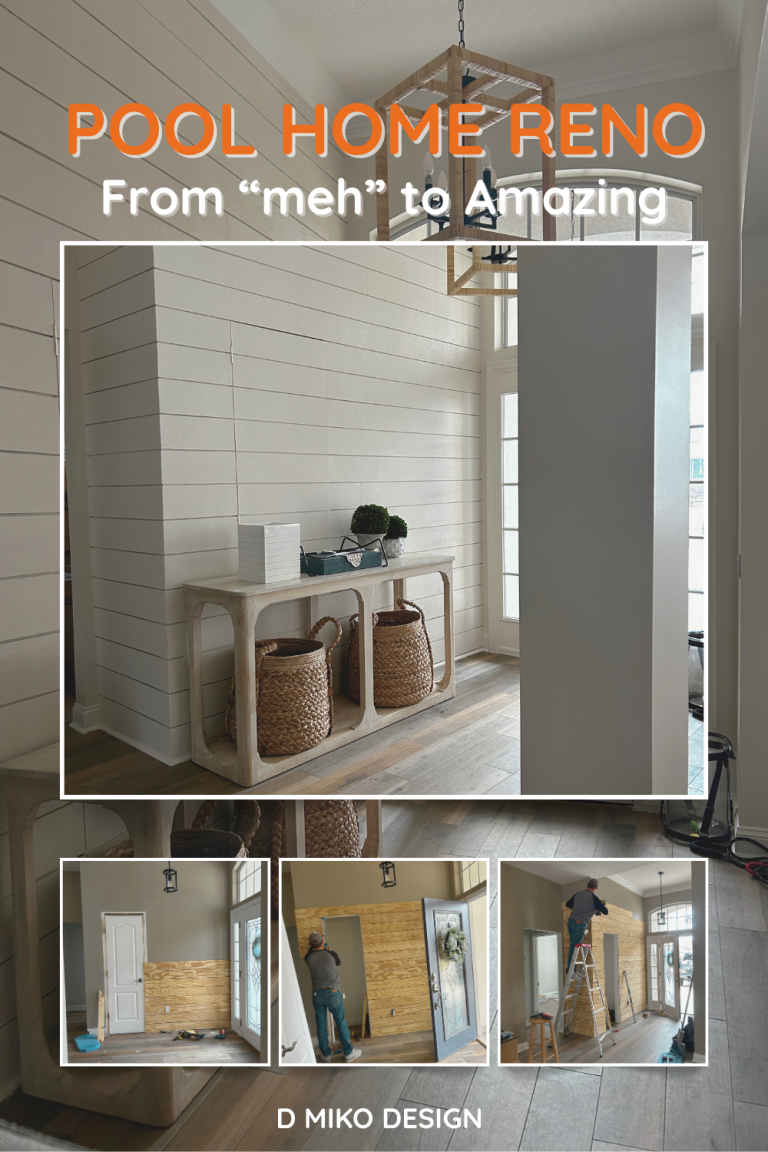
I called in Stephen from Lighthouse Remodeling to work his magic—and let me tell you, the guy knows his stuff. First up, he prepped the space and got that shiplap wall installed, all while making sure the hidden door didn’t just look amazing but actually worked (because, you know, details matter). It’s like having a secret passage straight out of a movie, and Stephen absolutely nailed it!
You may be wondering why Stephen is using plywood for the shiplap. Well, it’s because the other shiplap in the house was done DIY and the homeowner used plywood. I wanted the walls to match, plus it continues the rustic feel from the exterior.
Phase 2: Finishing Touches
Phase two was where the magic really started to happen:
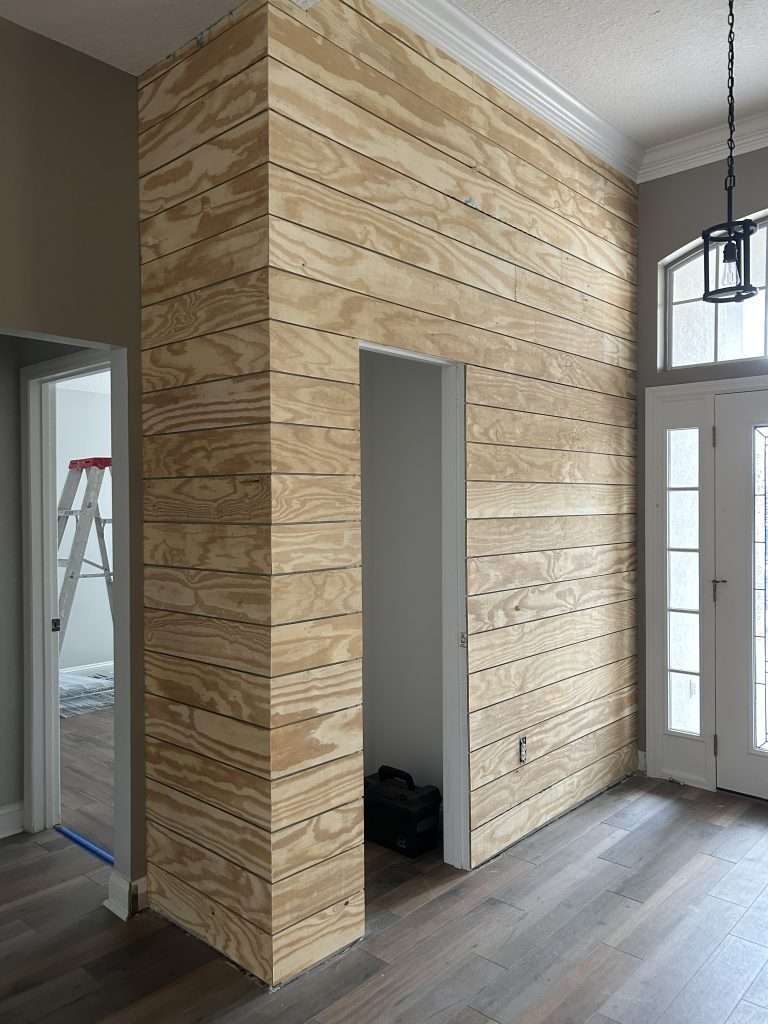
- I gave the place a glow-up with a fresh coat of Sherwin Williams Panda White—because who doesn’t love a little makeover?
- And the pièce de résistance? Installing the hidden door. Yes, a hidden door. I am living my secret agent dreams over here!
New lighting fixture—check!
Now, about the door. I went down a bit of a rabbit hole, trying different options before landing on good old traditional hinges. Honestly, they weren’t our first pick, but they turned out to be the hero I didn’t know I needed. They’re super low-profile and—bonus—fixed that pesky clearance issue with the wall shiplap. Sometimes the classics really do save the day!
Breaking Design Rules (Successfully!)
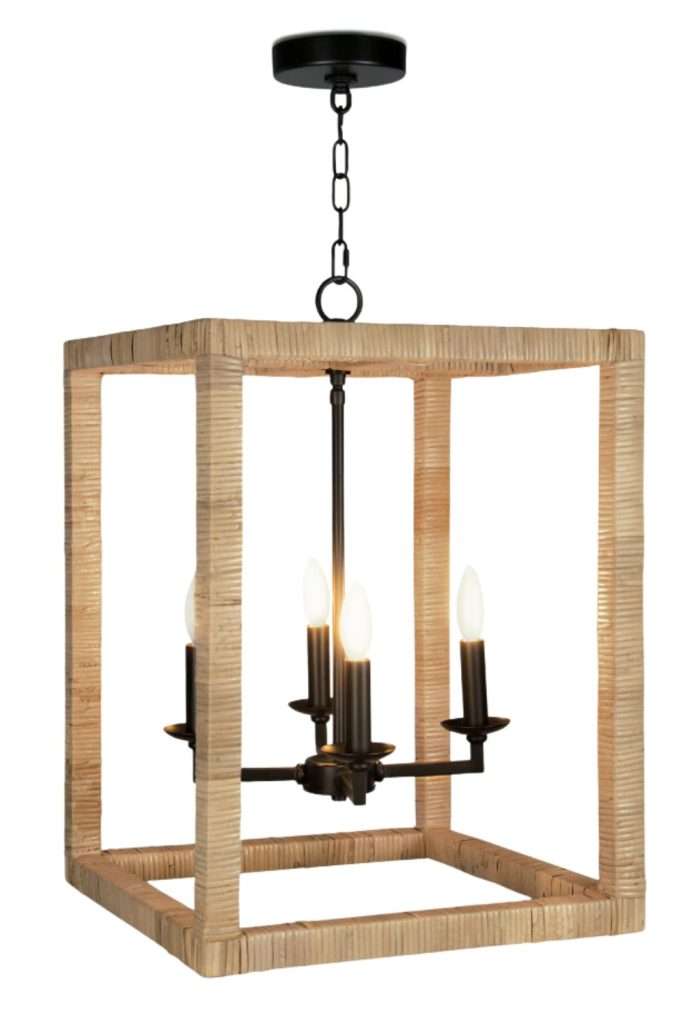
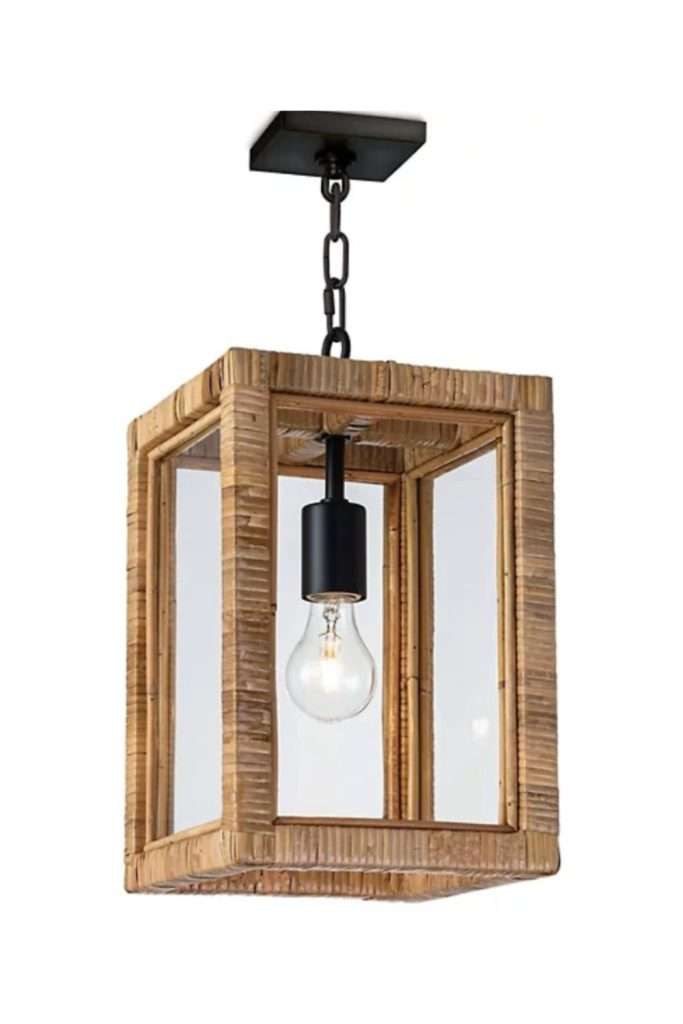
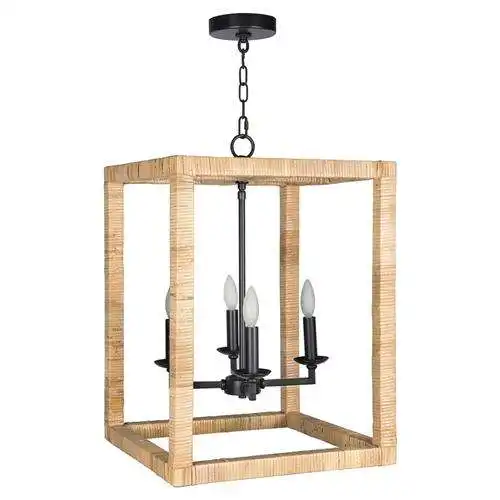
Sometimes, breaking the rules is the best way to go—especially regarding design. The “experts” say you’re supposed to add the two wall lengths together to find the ideal light fixture size. For our little 5’x8′ foyer, that math gives me a 13″ wide fixture. Cute, right? But I said, nope, let’s go big, and chose a 17″ wide rattan pendant instead. And let me tell you, it works. Here’s why:
- The open wall leading to the dining room makes the space feel bigger anyway, so why not?
- The larger size makes a bold, look-at-me statement (and I love a good statement).
- The natural rattan adds the perfect touch of warmth without smothering the room.
- What is the moral of the story? Sometimes, you’ve just got to trust your gut—and a little rattan never hurts.
Styling Details
The final touches? Oh, they’re my favorite part! For the entry table, I’m thinking:
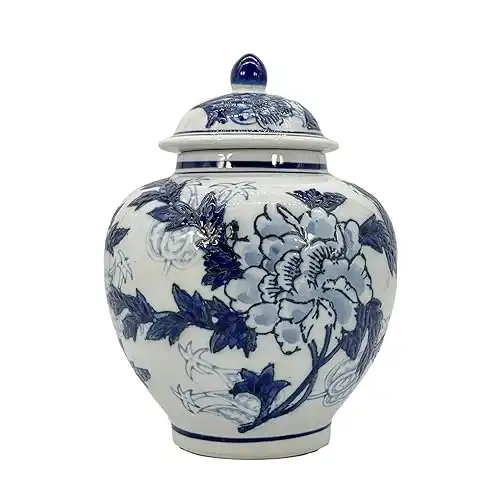
- A chic ginger jar—because who doesn’t love a little classic flair?
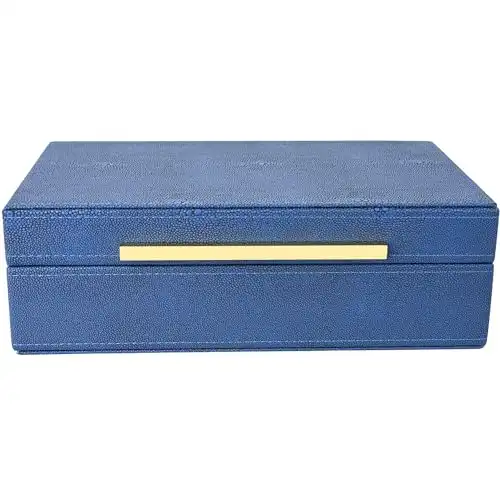
- A fabulous blue leather box to corral those ever-elusive car keys (you’re welcome).
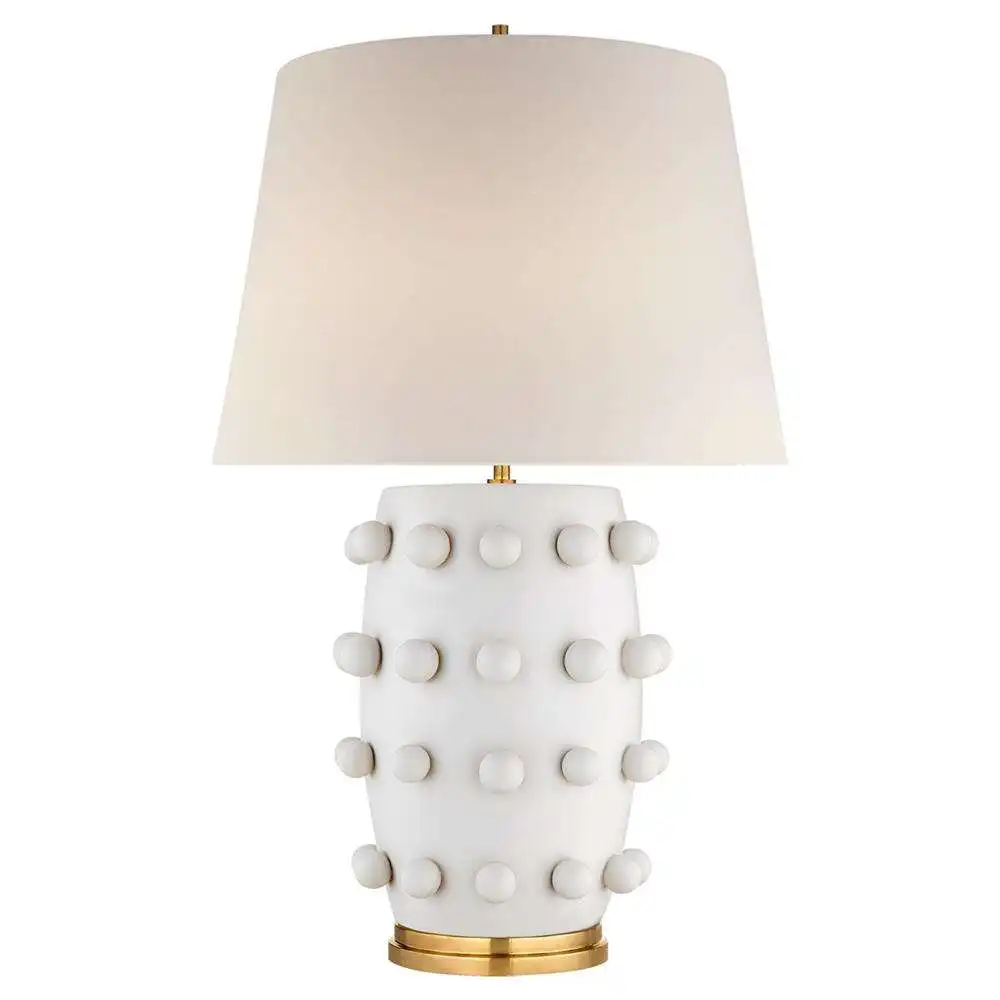
- A stylish table lamp to keep things looking warm and inviting.
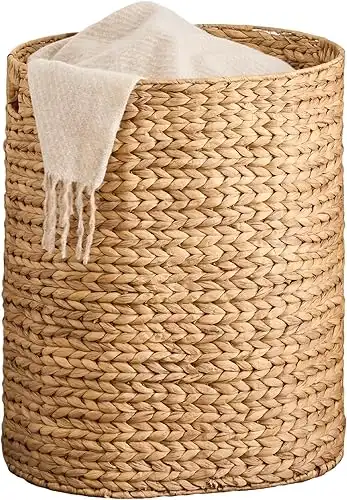
- And finally, some textured baskets—because who couldn’t use a bit of extra storage that also looks cute?
Shop The Look
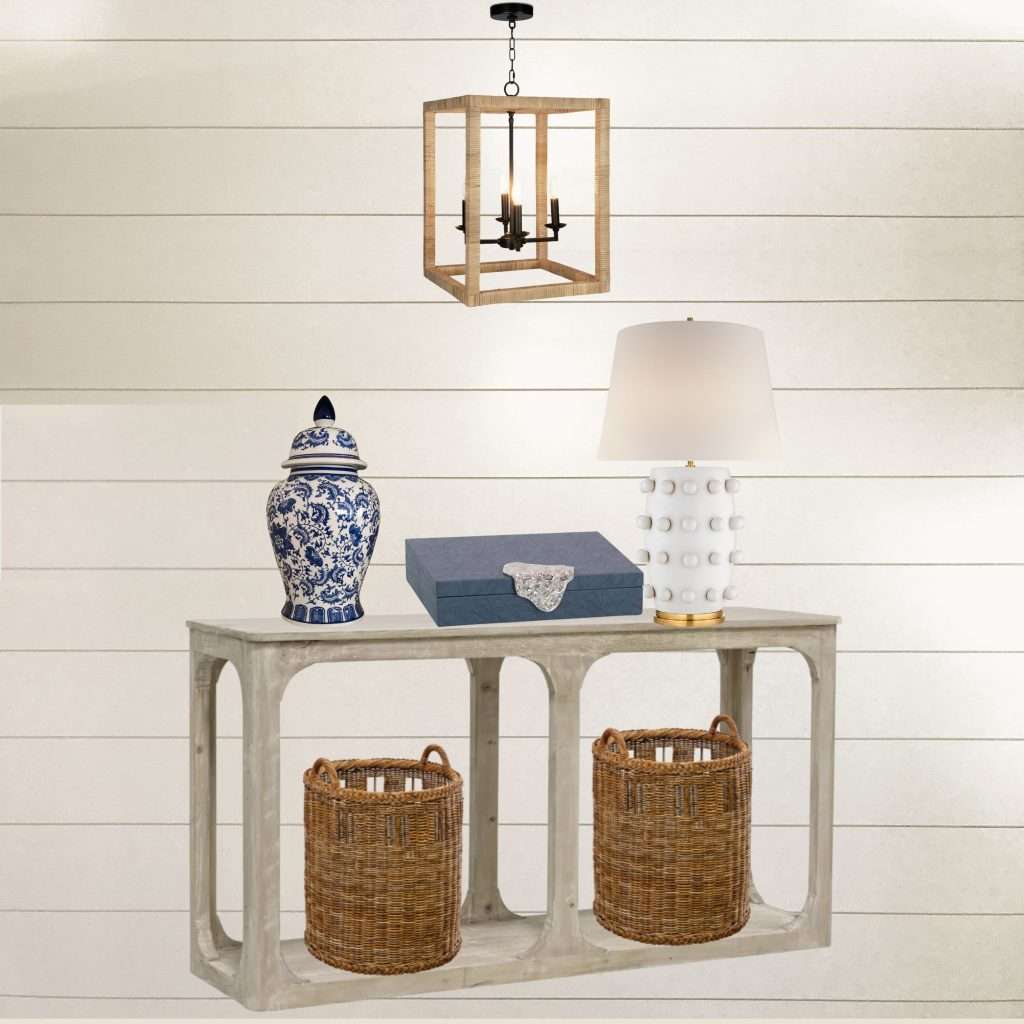
For those looking to recreate this entryway look, I’ve linked all the items (and similar options) that I used in our space:
Paint & Main Elements
Table Styling Elements
The Final Result
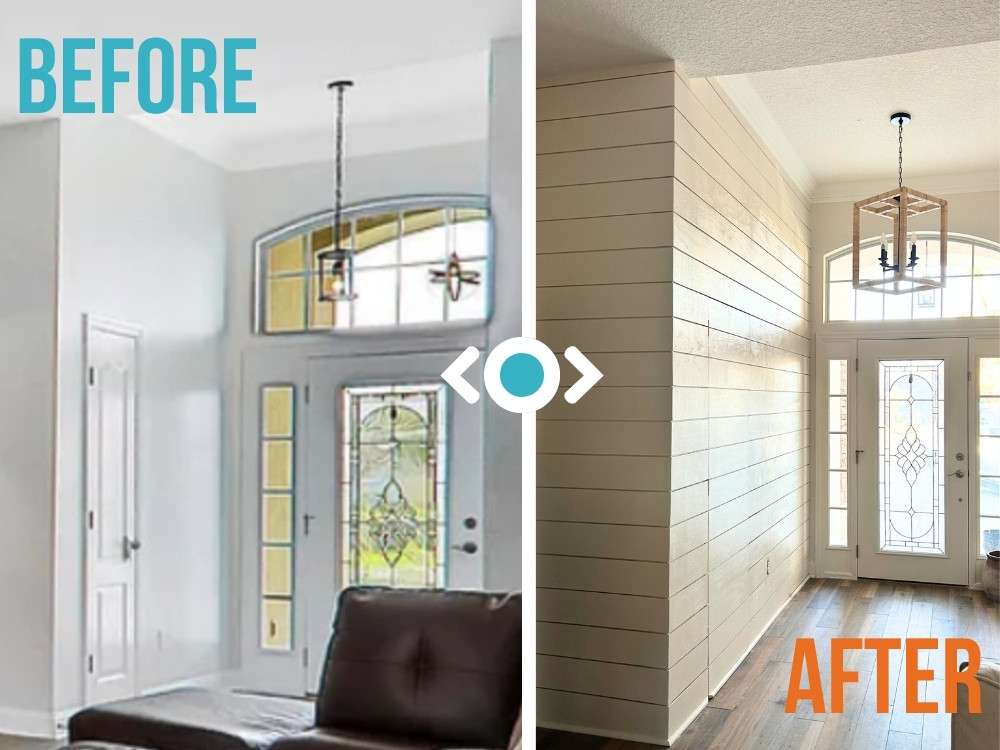
Our entryway used to be just a boring pass-through—blink, and you’d miss it. But now? It’s a whole vibe. With hidden storage (because who doesn’t need a spot to stash the chaos), statement lighting, and some styling magic, it finally gives that “wow” moment I was craving.
Amazing how small spaces can make a huge impact with the right touch, isn’t it? Get in touch today for a consultation and let’s transform yours!


