
5-Tier 60 W x 24 D x 72 H Garage Shelving Storage Shelves 3000LBS
Find It Here
$189.99
I earn a commission if you make a purchase, at no additional cost to you.
For more info, see my Disclaimer page.
06/30/2025 03:10 pm GMT
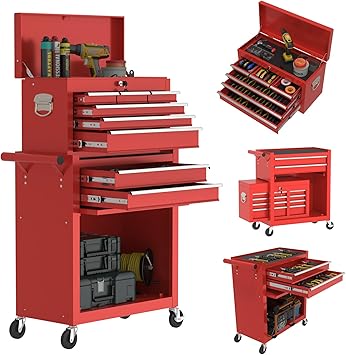
8-Drawer Large Tool Chest with Wheels and Lockable Drawers
Find It Here
I earn a commission if you make a purchase, at no additional cost to you.
For more info, see my Disclaimer page.

Single Swivel Bike Wall Mount Holds Up to 66 lbs
Find It Here
$89.99
I earn a commission if you make a purchase, at no additional cost to you.
For more info, see my Disclaimer page.
06/30/2025 05:12 pm GMT