Tired of waking up to the same bland, cookie-cutter bedroom every day? Don’t worry, you’re not alone. Builder-grade bedrooms can feel uninspired, but the good news is, it doesn’t take much to give them a glow-up.
With just a bit of creativity and a budget-friendly mindset, you can turn that basic space into a cozy retreat that feels like you. I’ll walk you through simple, affordable changes that make a big impact—all without breaking the bank. Ready to give your bedroom the upgrade it deserves? Let’s do this!
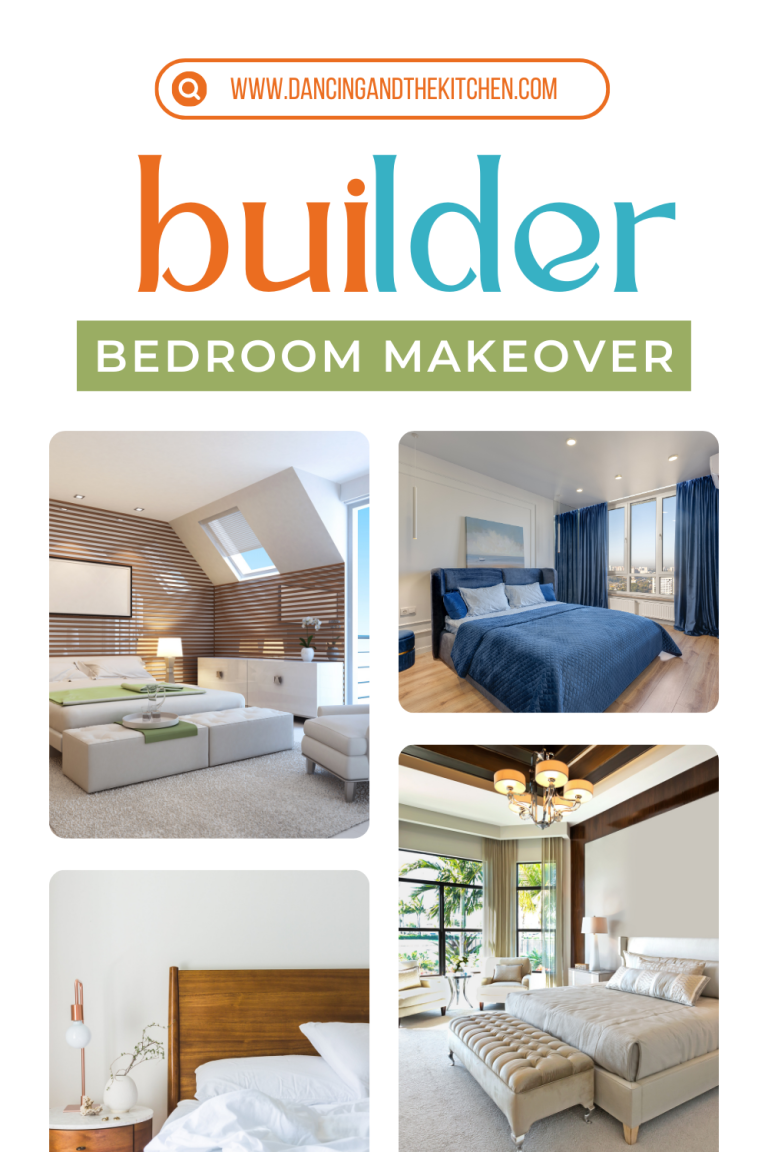
Don’t have time to read it now? Pin it for later!
Fresh Coat of Paint

Let’s face it: nothing makes a bigger, quicker impact than a fresh coat of paint. It’s like giving your walls a brand-new personality. Builder-grade bedrooms often come with flat, bland paint that feels more like a default setting than a design choice. Adding your own colors can completely transform the space, make it feel brighter, and, most importantly, make it feel yours. Plus, paint is one of the most affordable ways to upgrade a room—so grab a brush and let’s get started!
Choosing the Right Color
Picking the perfect paint color might feel overwhelming, but it doesn’t have to be. Start by thinking about how you want your bedroom to feel. Cozy? Calm? Energized? Your walls will set the tone, so choose wisely!
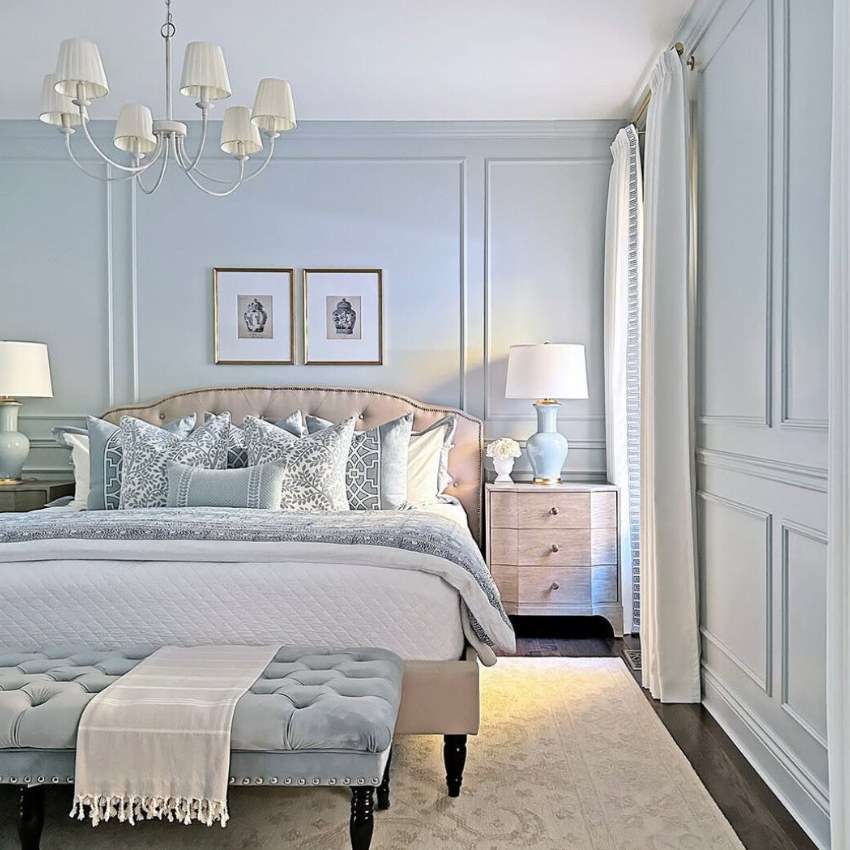
- For small bedrooms, light and neutral shades like soft gray, creamy beige, or pale blue are winners. They make your room feel bigger, cleaner, and more open—like hitting a refresh button on the whole space!
- For accents or feature walls, go bold for some drama. Deep greens, navy blues, or even a terracotta shade can create a focal point that screams style. If you’re nervous about going dark, you can balance it out with lighter furniture and bedding.
- Don’t forget the ceiling! A subtle off-white, a super-light shade of your wall color, or even a pale blue to resemble the sky can add some visual height without feeling stark.
PRO TIP: Test swatches directly on your walls over a layer of primer and look at them throughout the day to see how the light hits. Paint colors can look completely different at noon versus nighttime! You always want to test paint over white to get the true vision.
Tray Ceilings
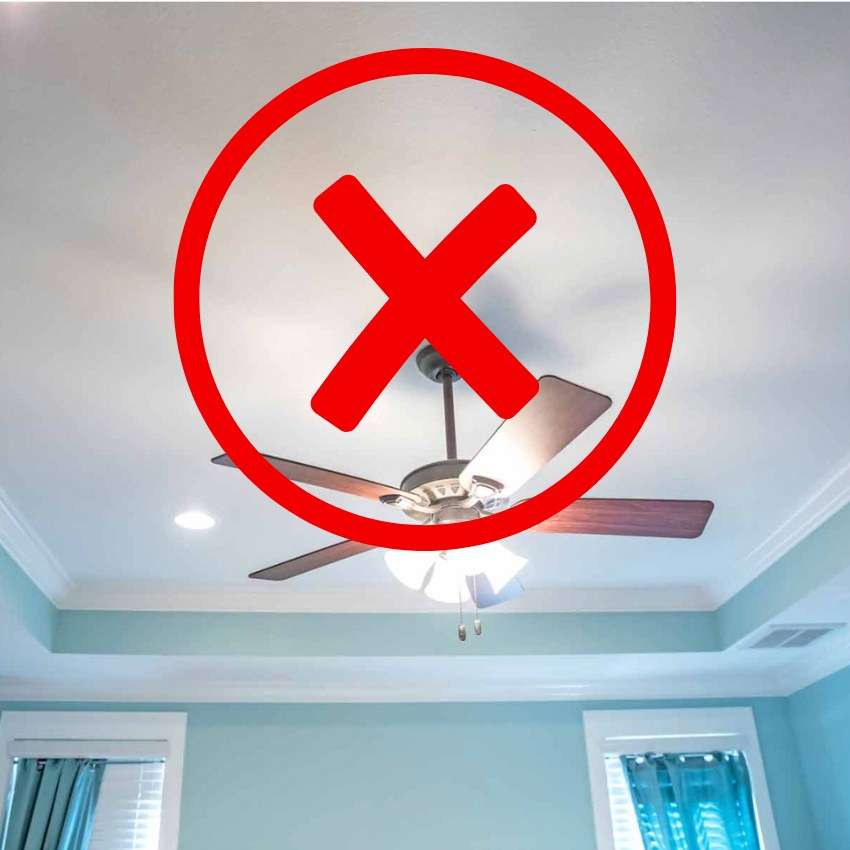
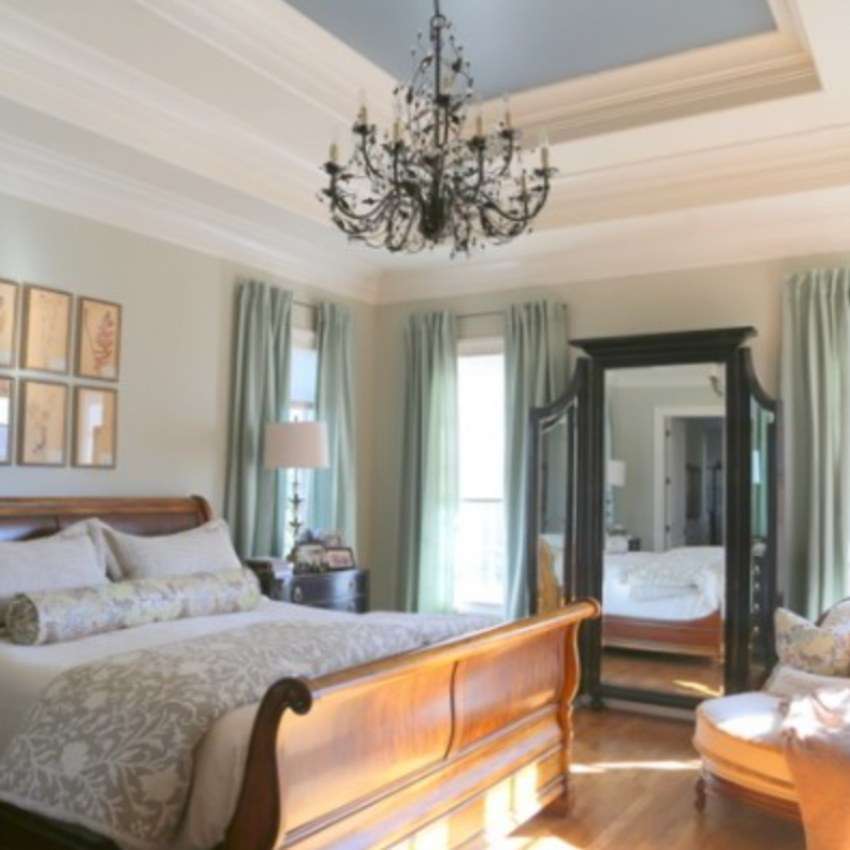
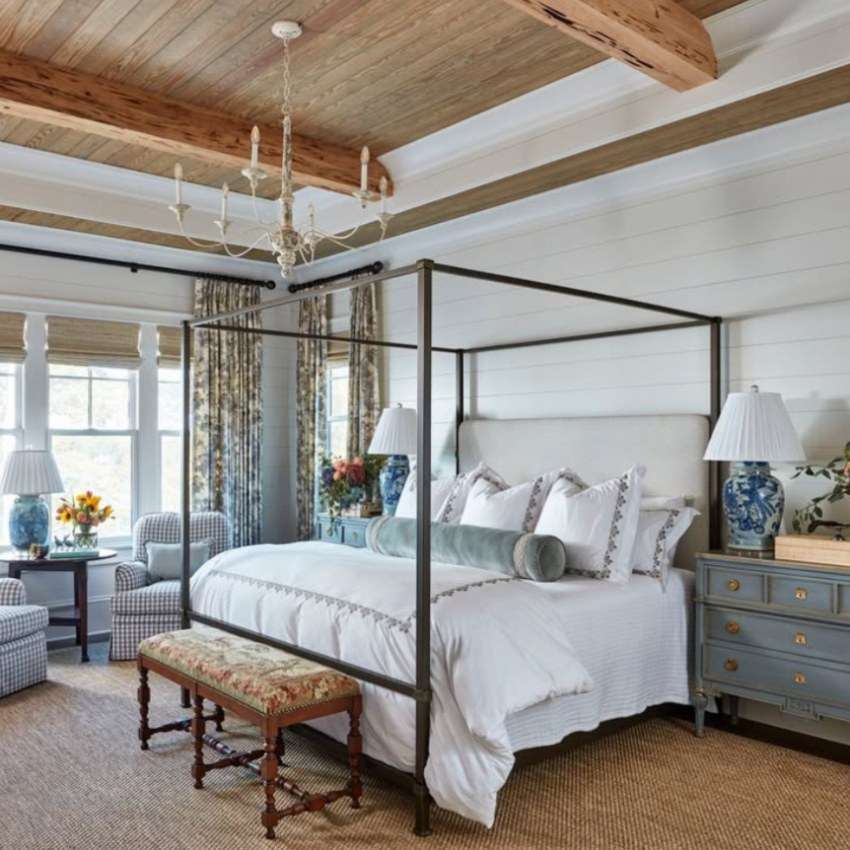
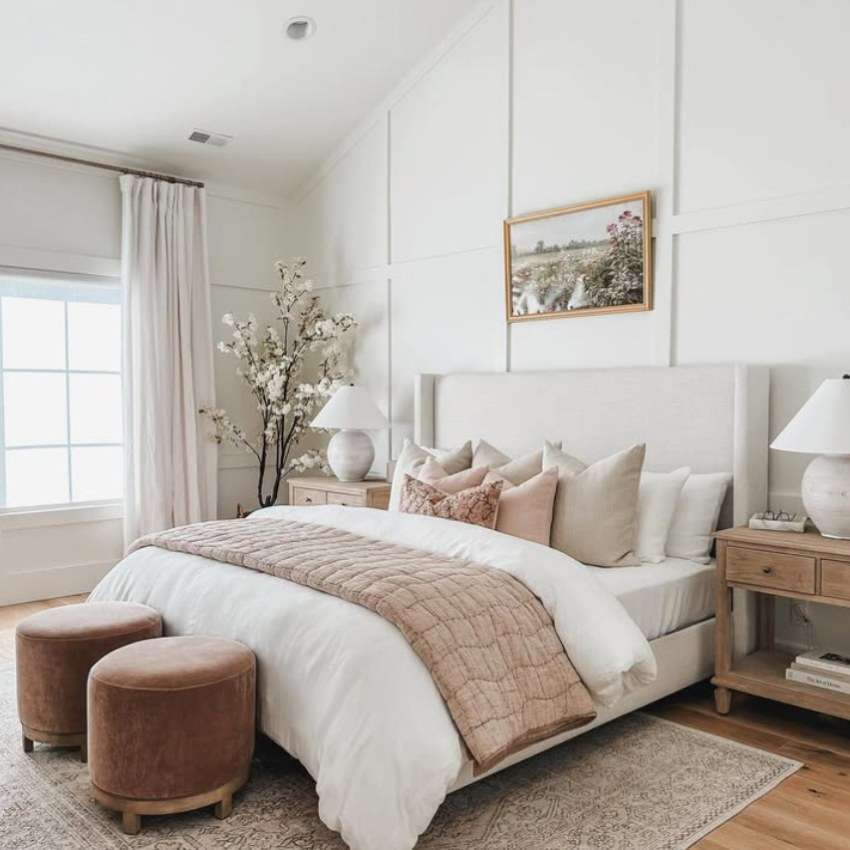
Once the tray starts the entire section should be painted the chosen ceiling color. Consider the upper wall above any crown to be ceiling…do NOT paint it the color of the wall and make the wall stripes or the wedding cake look. The whole purpose of a tray ceiling is to make the room look taller – the stripe hinders that.
⬆️ DO this ⬆️
DIY Painting Tips
Painting can seem messy and intimidating, but with the right approach, you’ll get professional-looking results (and maybe even have fun doing it!). Here’s how to tackle it like a pro:
- Prep your space. Move your furniture away from the walls or cover it with a drop cloth. Tape off your trim, outlets, and baseboards with painter’s tape. A little prep saves a ton of cleanup later!
- Clean and patch. Wipe down your walls with a damp cloth to remove dust and grime. Fill any nail holes or cracks with spackle, and sand them smooth once they’re dry. Bumpy walls? Not on your watch.
- Prime your walls. If you’re painting over darker colors or working with builder-grade flat paint, start with a coat of primer to help your new color pop. Bonus: it makes your paint job last longer.
- Cut in first. Use a small angled brush to paint the edges near your trim and ceiling. This is where precision counts, so no rushing!
- Roll it out. Use a roller for the larger wall areas. Work in a “W” pattern to avoid streaks and get even coverage. Two thin coats are better than one thick one, so don’t skimp on the patience.
- Remove tape ASAP. Here’s the key to sharp, clean lines: take off the painter’s tape while the paint is still slightly wet. Waiting until it’s dry can cause peeling.
Painting your bedroom changes the vibe, the energy, and maybe even how you feel when you wake up. And the best part? If you change your mind later, you can always paint again.
Millwork
Millwork can add texture and interest to a plain wall. And good news for DIY-ers—it’s not as hard as you think.
Shiplap Walls
- Start with thin wood planks or even peel-and-stick panels.
- Measure your wall, cut the planks to fit, and secure them with adhesive or nails.
- Paint the planks your favorite color—white for farmhouse or coastal vibes, or deep hues for something modern.
Board and Batten
- Plan your layout using painter's tape to map where the vertical strips (battens) will go.
- Cut wooden strips to size—MDF is affordable and works great.
- Attach the strips to the wall with adhesive and nails. Fill in gaps with caulk for a seamless look.
- Paint everything the same color for a classy, built-in effect.
Vertical Planks (Tongue and Groove)
Beadboard
Traditional Wainscoting
These techniques bring depth to your room and make it look custom without the custom price tag. You’ll be amazed at how much a little texture can transform an otherwise dull space!
A feature wall doesn’t just change how your bedroom looks—it gives the whole room a focal point. Every time you walk in, it’s the first thing you see. Why not make it something worth staring at?
Upgrade Lighting Fixtures
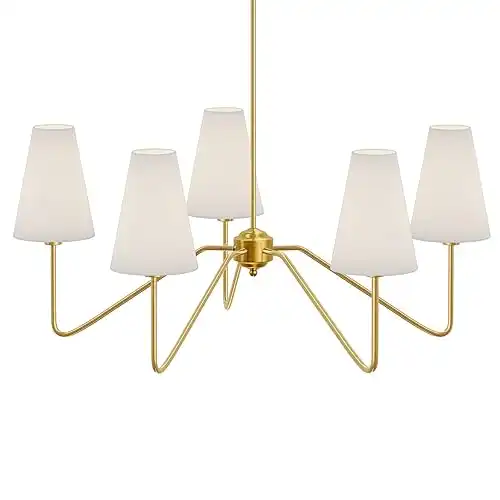
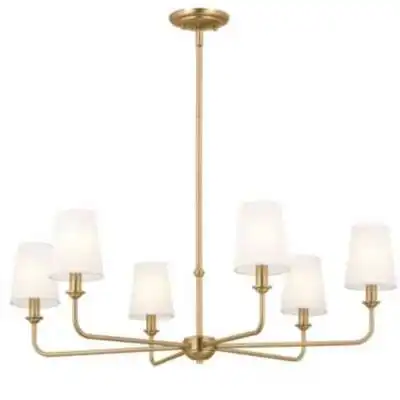
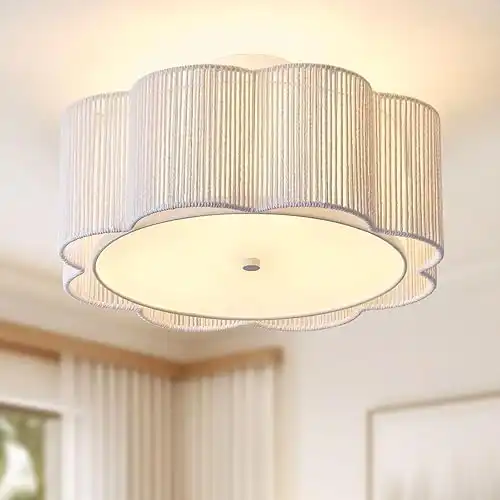
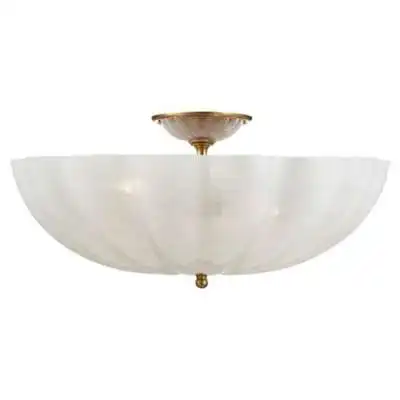
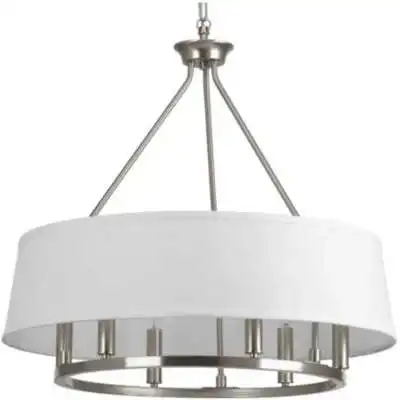
Lighting can completely change the mood of your bedroom. Builder-grade lighting often feels generic and lifeless, but the right lighting can make your boring bedroom cozy and chic. And guess what? You don’t need a massive budget to make it happen.
Types of Lighting to Consider
Every room benefits from layered lighting. Just flipping a switch doesn’t create an atmosphere that feels warm and inviting. Here are some affordable options to level up your bedroom:
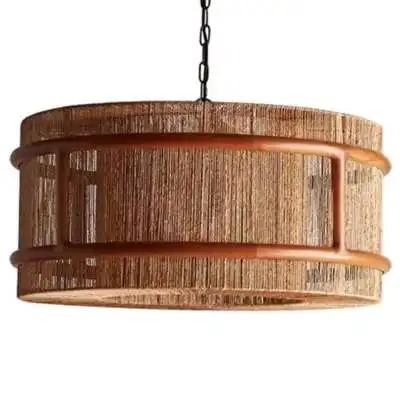
- Pendant Lights: Hang one over your nightstand for a modern touch. It instantly saves space while adding personality. Choose a sleek metal or woven rattan shade to match your vibe.
- Floor Lamps: These are perfect for corners that feel neglected. A tripod or arched lamp can bring elegance without hogging space. Bonus: You can move it around as needed!
- String Lights: Not just for dorm rooms! Drape warm white string lights around your headboard or a window frame for a dreamy glow. It’s cozy, inexpensive, and downright charming in a kid’s room.
- Wall Sconces: Perfect for freeing up nightstand real estate. Save money by sourcing plug-in versions that don’t require hardwiring.
Think about combining several types to get the perfect mix of function and ambiance. A well-lit bedroom feels larger, but also much more cohesive.
DIY Light Fixtures
Sometimes you don’t need to buy new—just upgrade what you’ve got! DIY lighting projects are budget-friendly and give your space a personal touch. Plus, it’s fun to turn something basic into a showstopper. Here are a few creative ideas:
- Update Lampshades: Got a plain drum shade? Wrap it in textured fabric, spray paint it, or use self-adhesive wallpaper to add patterns. Easy, fast, and totally yours.
- Rattan/Wicker Shades: If the rattan needs some color, you can paint it or tea stain it.
- Spray Paint Old Fixtures: A can of spray paint (specifically for metals) can turn dated fixtures into trendy, high-end-looking pieces. No one will guess it came from the clearance aisle. PRO TIP: I recommend using a metal primer before the paint.
- Rope-Wrapped Pendants: Take a cheap pendant light and wrap it with natural jute rope for a coastal or boho look.
- Beaded Chandeliers: String together wooden beads in layers for a DIY fixture that looks boutique-level chic.
The best part? These projects don’t require a ton of skill—if you can use glue, paint, and scissors, you’re good to go. Lighting might seem minor, but it makes a major impact. Trust me, when you swap that dull builder-grade fixture for something with flair, you’ll feel the difference every time you walk in.
Add Texture with Accessories
Builder-grade bedrooms often lack depth, but the right accessories can change everything. Adding layers through affordable decor warms up the space and makes it more inviting and personal. Every layer counts, and together, it’s chef’s kiss. Here’s how you can tackle this step without a big budget.
Pillows and Throws
You know that feeling when you dive into a perfectly layered bed? That’s what we’re aiming for here. The key? Mix, don’t match. Combine different fabrics, patterns, and sizes for a look that’s less cookie-cutter and more designer.
- Pair textures: Think of velvet against cable-knit. Linen paired with faux fur. Smooth meets fuzzy equals dreamy.
- Layer patterns: Go bold or keep it subtle—it’s your call. Stripes with florals? Polka dots with solids? Yes, yes, and yes.
- Vary sizes: Start with larger pillows against the headboard, layer smaller ones in front, and toss a lumbar pillow for flair.
PRO TIP: Hubby hates the “pillow shuffle” when dismantling and remaking the bed so I’ve found the perfect layers for us: 2 Dutch Euros (32” x 39”) and a long bolster.
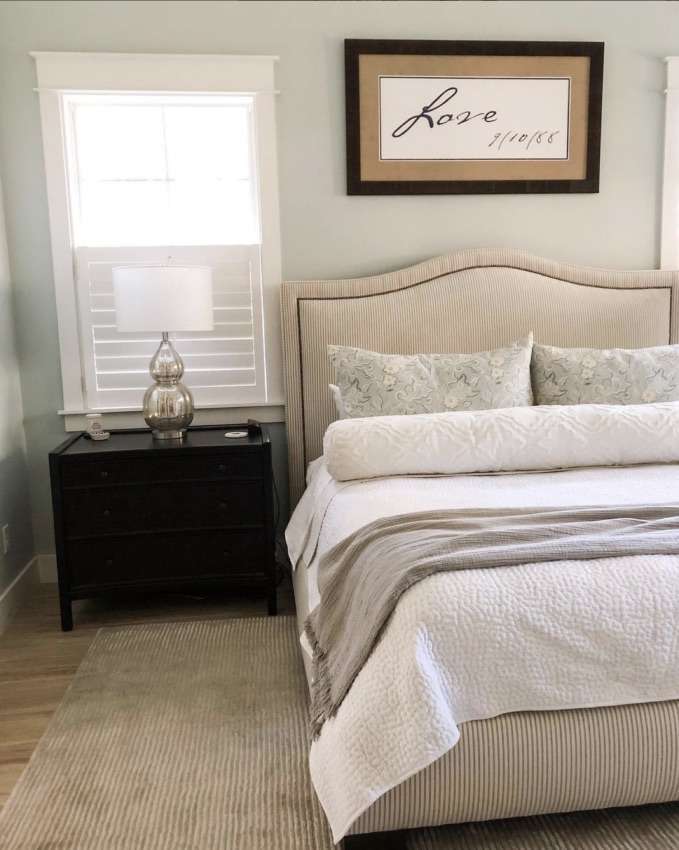
A throw blanket is the icing on the cake. Fold it neatly at the foot of the bed or casually drape it for a lived-in, boho look.
Rugs that Make a Statement
So, you’ve nailed the bed vibes—now bring all that warmth down to the floor. Rugs bring instant character to a builder-grade bedroom. Even if the carpet is “blah” beige, a great rug will pull focus and tie everything together.
When choosing a rug, think about the room’s theme:
- Modern Bedrooms: Go for geometric prints, bold colors, or monochrome designs. A black and white Moroccan-style rug is always on-trend.
- Cozy and rustic vibes: Opt for shaggy rugs, jute, or tufted textures. They’ll make the room feel like a warm hug.
- Bohemian dreams: Layer rugs! Yes, one on top of the other. A patterned kilim under a neutral woven rug adds insane depth. (It’s best to layer a decorative rug over a flat rug like a sisal or jute, otherwise there's a lot of slippage which isn’t safe; however, in a bedroom since the decorative doesn’t take up the whole floor, it will work.)
Sizing matters, too. For a polished look, make sure your rug fits underneath at least two-thirds of your bed. Too small, and it feels awkward,
Between the cozy pillows, snuggly throws, and rug you’ll actually want to sit on, your bedroom will feel like an oasis in no time. All this without needing to touch those builder-grade walls or floors? I call that a win.
Maximize Storage Solutions
Small bedrooms can feel overwhelming if you’re not organized. Builder-grade homes often skimp on storage, but we’re not letting that stop us! With a little creativity, you can maximize every square inch and still keep it stylish. Declutter, reorganize, and make space work for you. Ready to tackle the chaos and win back your room? Let’s dive in!
Under-Bed Storage Ideas
It’s there, it’s out of sight, and it’s begging to be useful. Why let it collect dust bunnies when it could hold your seasonal clothes or spare bedding?
Here are some quick and affordable ideas:
- Storage boxes: Opt for flat, lidded containers that slide under the bed. Use them to stash away sweaters, boots, or extra blankets.
- Rolling drawers: Add wheels to old drawers or buy ready-made rolling units. Easy access and no heavy lifting.
- Vacuum-sealed bags: Got bulky stuff? Compress them into thin, stackable bags and free up space in a snap.
Label everything. Seriously. There’s no point in storing stuff you can’t find later. And don’t overlook bed risers. They lift your bed just enough to sneak in taller containers—more space magic!
Use Decorative Baskets
Not every storage solution needs to be hidden. Decorative baskets are the perfect functional decor. They hold your stuff, look good doing it, and add texture to your room.
How can you use baskets effectively? Try this:
- Place a woven basket near your bed for extra pillows or throws. Boom, instant charm.
- Use small bins on shelves to corral items like books, beauty products, or cords. No more random clutter!
- Go vertical! Stack matching baskets or use versions with lids.
Choose baskets that fit your style—woven, metal, or even fabric options are sure to match any vibe. Plus, they make your room feel cozy and intentional, all while keeping things tidy.
Stay Organized, Stay Sane
A small space can feel twice the size just by being organized. It’s less a design trick and more a lifestyle upgrade. Keep the things you use daily within arm’s reach, and store the rest smartly. When everything has a place, your bedroom quickly transforms from “meh” to “yes, please!”
Create a Feature Wall
A feature wall can add just the right oomph to your bedroom. It’s the easiest way to add personality without gutting the room. It draws the eye, sets the tone, and makes everything else look more polished. The best part? It doesn’t have to cost a fortune. With a little creativity and some elbow grease, you can turn any wall into the star of the room.
Art
Many bedrooms lack art or show several small pieces, but bigger is always better, unless you’re opting for a gallery wall.
Create a gallery wall with prints that make you smile. Mix sizes, colors, and styles for character. Thrift stores are gold mines for unique frames, or you can DIY your own with cheap wooden ones and spray paint.
DESIGNER TIP: Want your space to feel taller? Arrange your art vertically. Want it cozier? Go for a wider layout.
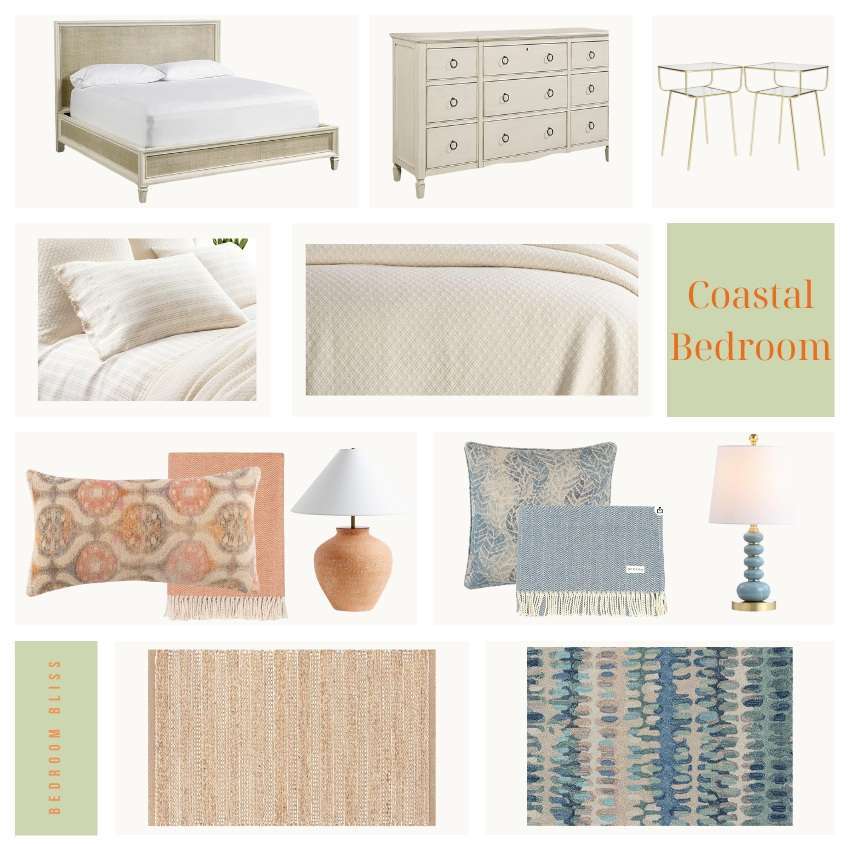
You Snooze, You Lose
Transforming a builder-grade bedroom doesn’t have to drain your wallet or your energy. Small, thoughtful updates—like fresh paint, better lighting, cozy layers, and creative storage—can completely refresh the space and make it feel uniquely yours.
Take it one step at a time. Start with what inspires you most and build from there. Your bedroom should reflect you, not a default template.
Ready to tackle your own bedroom makeover? Share your ideas and results—I’d love to see how you make it your own!
Ready to transform your bedroom but feeling overwhelmed? Schedule a quick consultation – let’s make sure you get it right the first time!


